Factories > Overview
Warp Factories quickstart
# Warp Factories quickstart :::note Warp Factories is in **Early Access** and available to a limited set of teams. [Request access](https://www.warp.dev/factories/request-access) to use it with your team. ::: Create a factory and take one small work item from prompt to pull request in about 10 minutes. This quickstart is for teams that already have Warp Factories access and know which repositories they want the factory to use. ## Prerequisites * **Warp Factories access** - [Request Early Access](https://www.warp.dev/factories/request-access) for your team. * **A Warp team with credits** - The team's [credits](/support-and-community/plans-and-billing/platform-credits/) are consumed by factory agents. * **Repository access** - Authorize GitHub, GitLab, or Azure DevOps during setup. Restricted organizations need owner approval. Azure DevOps also requires [one-time administrator approval](/factories/integrations/azure-devops/#requirements). ## Set up your factory _About 5 minutes_ :::note For GitHub and GitLab repositories, an agent connected to [Factory MCP](/factories/factory-mcp/#set-up-with-your-coding-agent) can run this whole setup. Use the web setup wizard for Azure DevOps. If the wizard is still open when the agent finishes, refresh the page to see the new factory. ::: 1. Sign in to the <a href=https://platform.warp.dev>Warp Factories web app</a>. Next to **Factories**, click **+**. <figure style={{ maxWidth: "300px" }}>  <figcaption>The factory setup control in the sidebar.</figcaption> </figure> 2. Under **Connect your code hosts**, connect GitHub, GitLab, or Azure DevOps. Choose the GitHub organization, GitLab group, or Azure DevOps organization and project to connect. To use another code forge, select **No repo**, finish creating the factory, then [configure repository access from the default runner](/factories/code-forges/other-code-forges/). <figure style={{ maxWidth: "563px" }}>  <figcaption>Connected GitHub organizations available during setup.</figcaption> </figure> 3. On **Select your repos**, select one or two repositories that ship together, then click **Add repos**. See [sizing a factory](/factories/#sizing-a-factory) before adding a repository already covered by another factory. <figure style={{ maxWidth: "563px" }}>  <figcaption>The repository selector for factory setup.</figcaption> </figure> 4. Name the factory. This also sets its [**Foreman name**](/factories/factory-agents/#foreman-name), the handle your team @-mentions in Slack and Linear. <figure style={{ maxWidth: "563px" }}>  <figcaption>Identity settings for the factory and foreman.</figcaption> </figure> 5. Choose which agents the foreman can dispatch. Leave **Implement** enabled so this quickstart ends in a pull request. See [factory agents](/factories/factory-agents/) for details. <figure style={{ maxWidth: "563px" }}>  <figcaption>Default factory agents enabled during setup.</figcaption> </figure> 6. Optionally, connect Slack and an issue tracker. You can add either later from [connect your factory](/factories/connect-your-factory/). Warp creates the factory and opens its [dashboard](/factories/factory-dashboard/). ## Send your first work item _About 5 minutes_ Send work from Slack or an issue tracker. If you skipped integrations, start a run from the **Runs** page of the factory's [dashboard](/factories/factory-dashboard/). 1. Describe one small, verifiable change and send it: ```text title="Example first request" Add a "Local development" section to README.md that summarizes the setup steps from CONTRIBUTING.md. Keep the change to that one file, run the repo's lint check, and open a pull request. ``` 2. The foreman dispatches the agents needed for the request and posts progress where it started. Follow the foreman and child runs on the factory's [Runs page](/factories/factory-dashboard/#inspect-runs). Requests for input also appear in your [inbox](/factories/factory-inbox/). If you connected Slack, you can follow along there instead: <figure style={{ maxWidth: "563px" }}>  <figcaption>A factory Slack thread with live progress.</figcaption> </figure> 3. When the Implement agent finishes, review and merge the linked pull request as you would any other. ## Next steps * [**Connect your factory**](/factories/connect-your-factory/) - Configure intake sources. * [**How Warp Factories work**](/factories/how-factories-work/) - Understand the work-item lifecycle. * [**Troubleshooting Warp Factories**](/factories/troubleshooting/) - Fix common setup and run issues.Tell me about this feature: https://docs.warp.dev/factories/quickstart/Set up a factory, connect your repositories, and take your first work item from prompt to pull request in about 10 minutes.
Create a factory and take one small work item from prompt to pull request in about 10 minutes. This quickstart is for teams that already have Warp Factories access and know which repositories they want the factory to use.
Prerequisites
Section titled “Prerequisites”- Warp Factories access - Request Early Access for your team.
- A Warp team with credits - The team’s credits are consumed by factory agents.
- Repository access - Authorize GitHub, GitLab, or Azure DevOps during setup. Restricted organizations need owner approval. Azure DevOps also requires one-time administrator approval.
Set up your factory
Section titled “Set up your factory”About 5 minutes
-
Sign in to the Warp Factories web app. Next to Factories, click +.
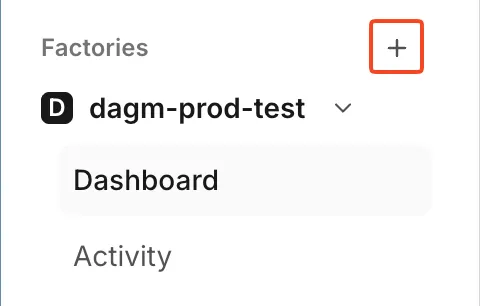
The factory setup control in the sidebar. -
Under Connect your code hosts, connect GitHub, GitLab, or Azure DevOps. Choose the GitHub organization, GitLab group, or Azure DevOps organization and project to connect.
To use another code forge, select No repo, finish creating the factory, then configure repository access from the default runner.
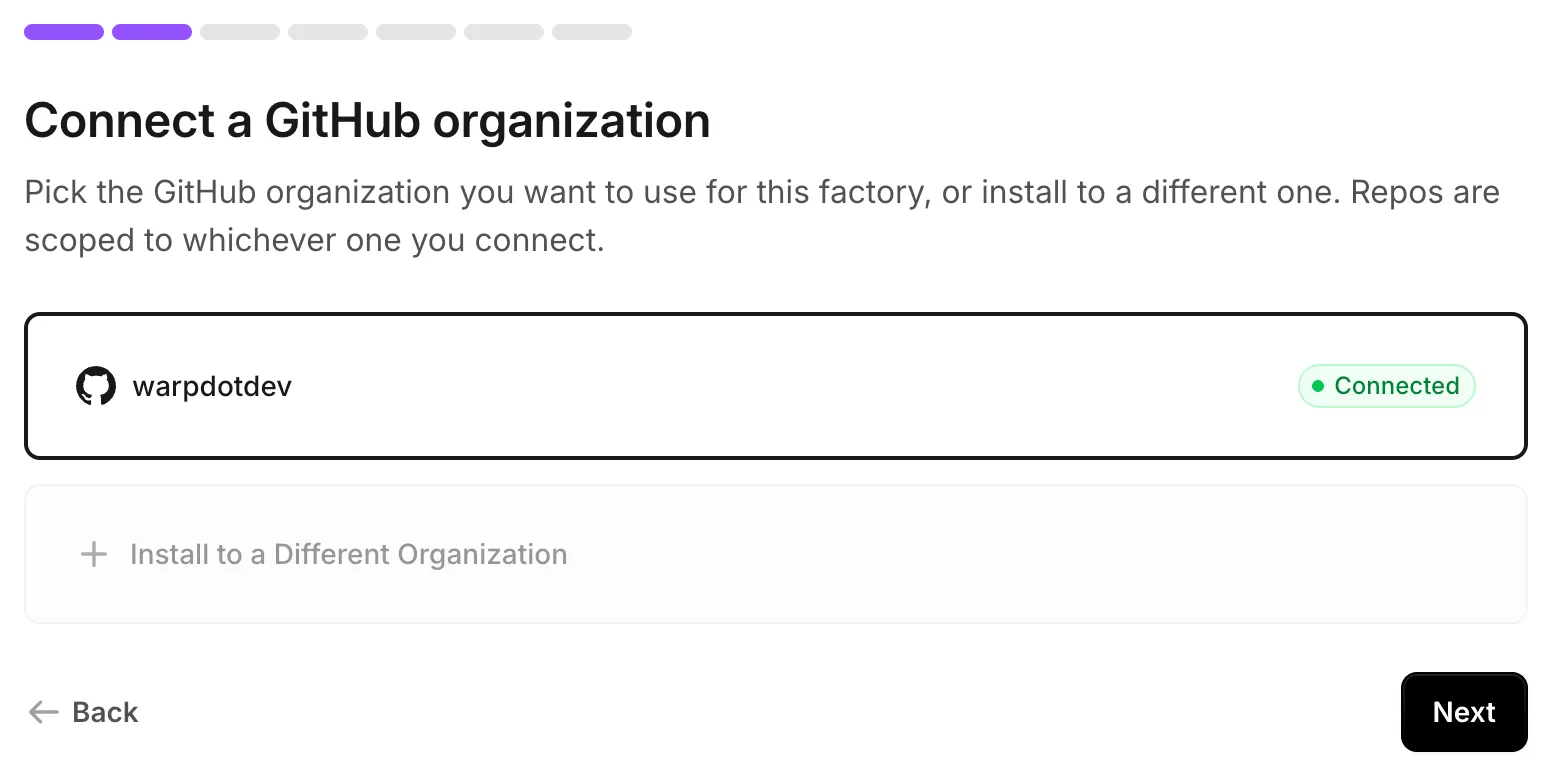
Connected GitHub organizations available during setup. -
On Select your repos, select one or two repositories that ship together, then click Add repos. See sizing a factory before adding a repository already covered by another factory.
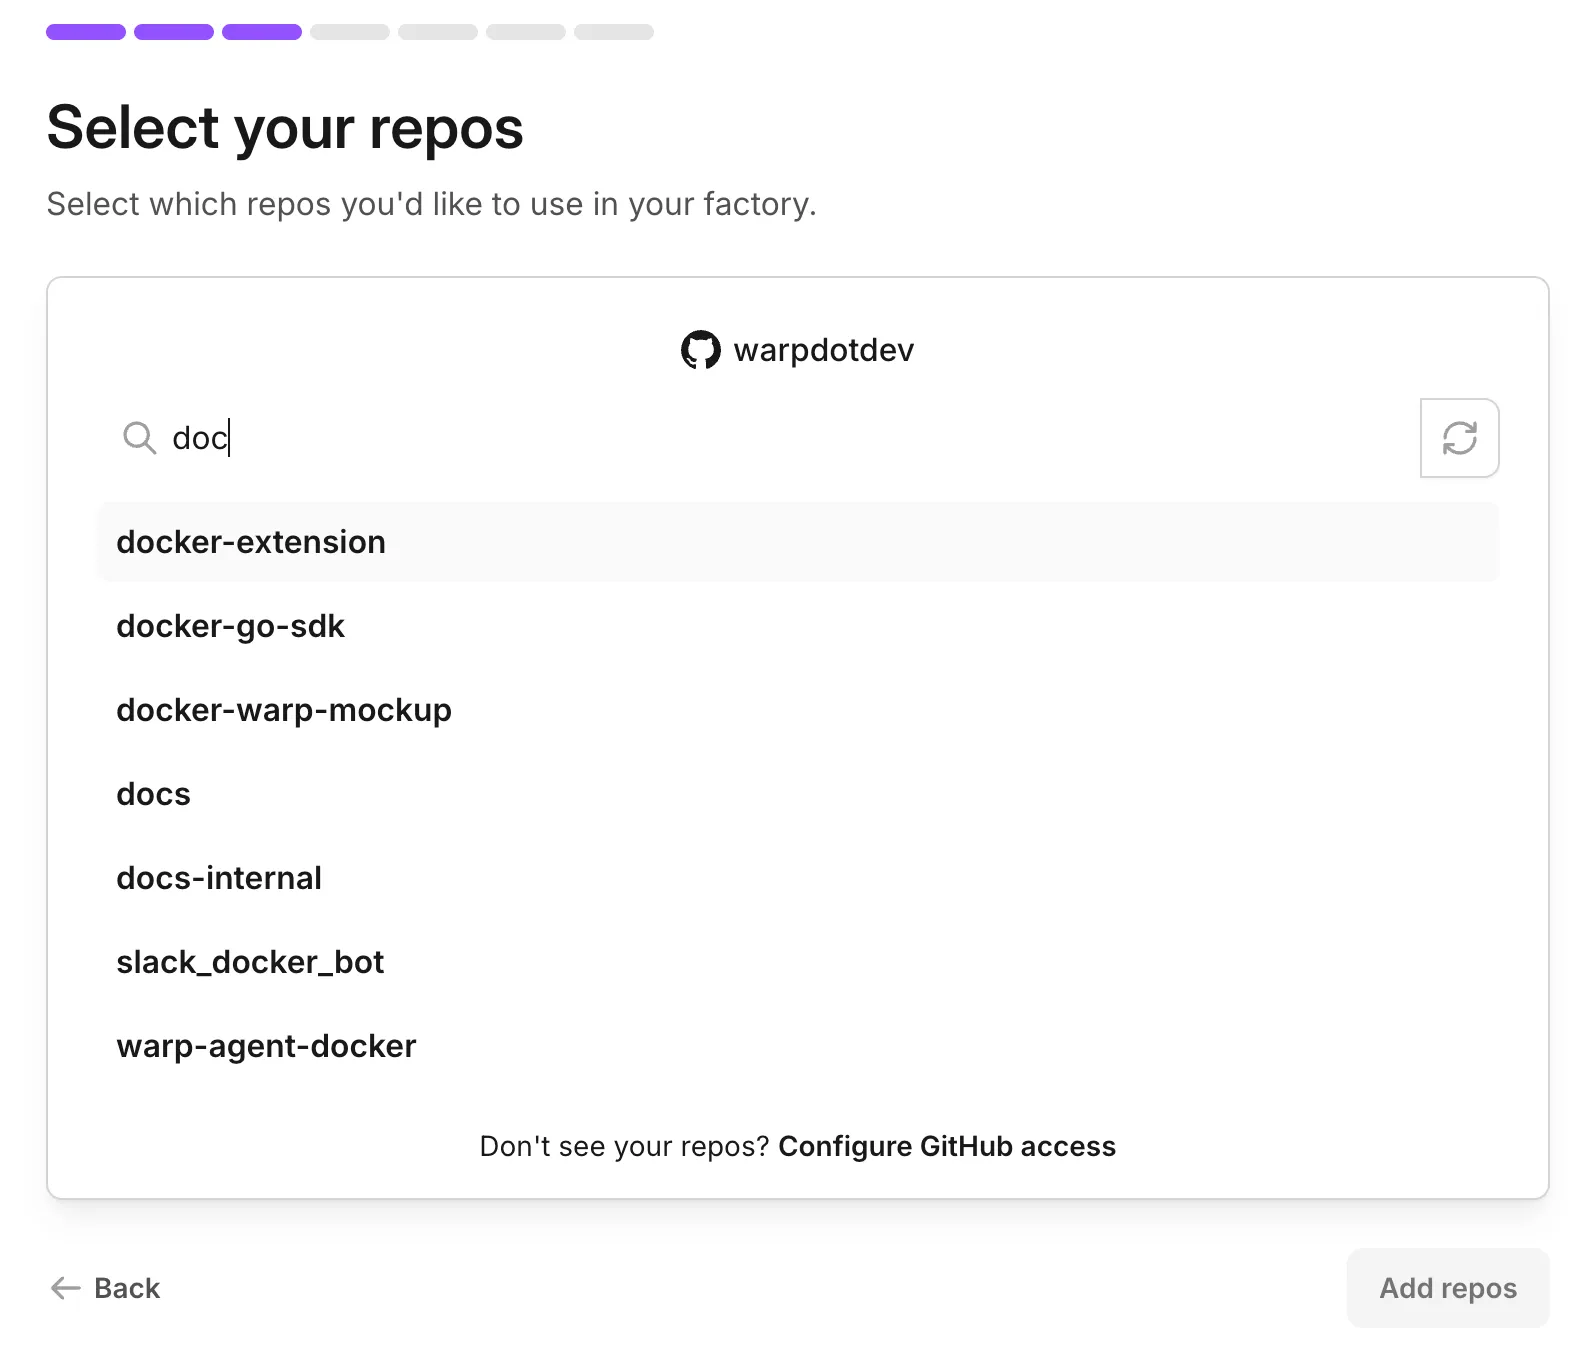
The repository selector for factory setup. -
Name the factory. This also sets its Foreman name, the handle your team @-mentions in Slack and Linear.
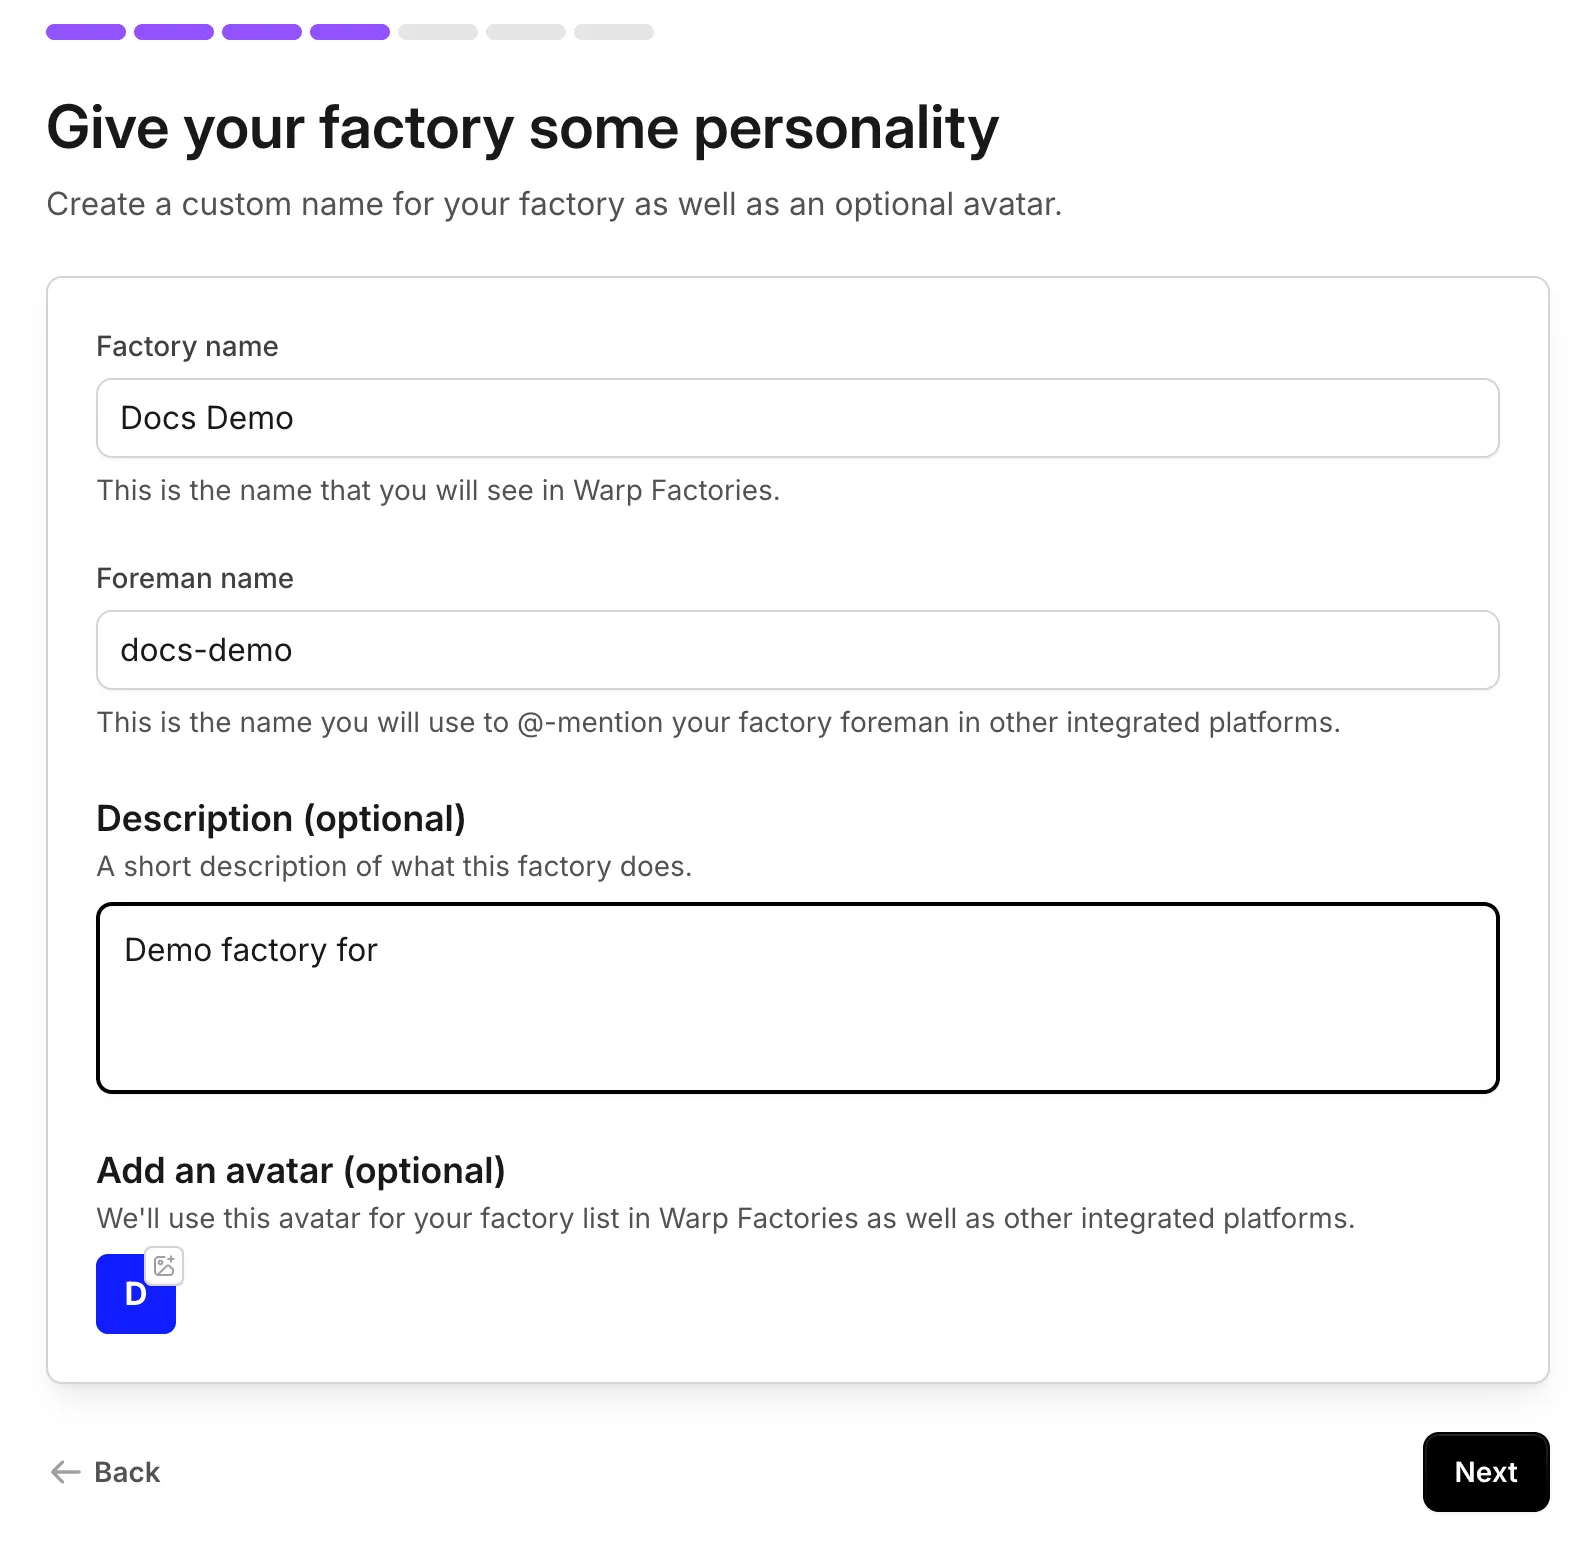
Identity settings for the factory and foreman. -
Choose which agents the foreman can dispatch. Leave Implement enabled so this quickstart ends in a pull request. See factory agents for details.
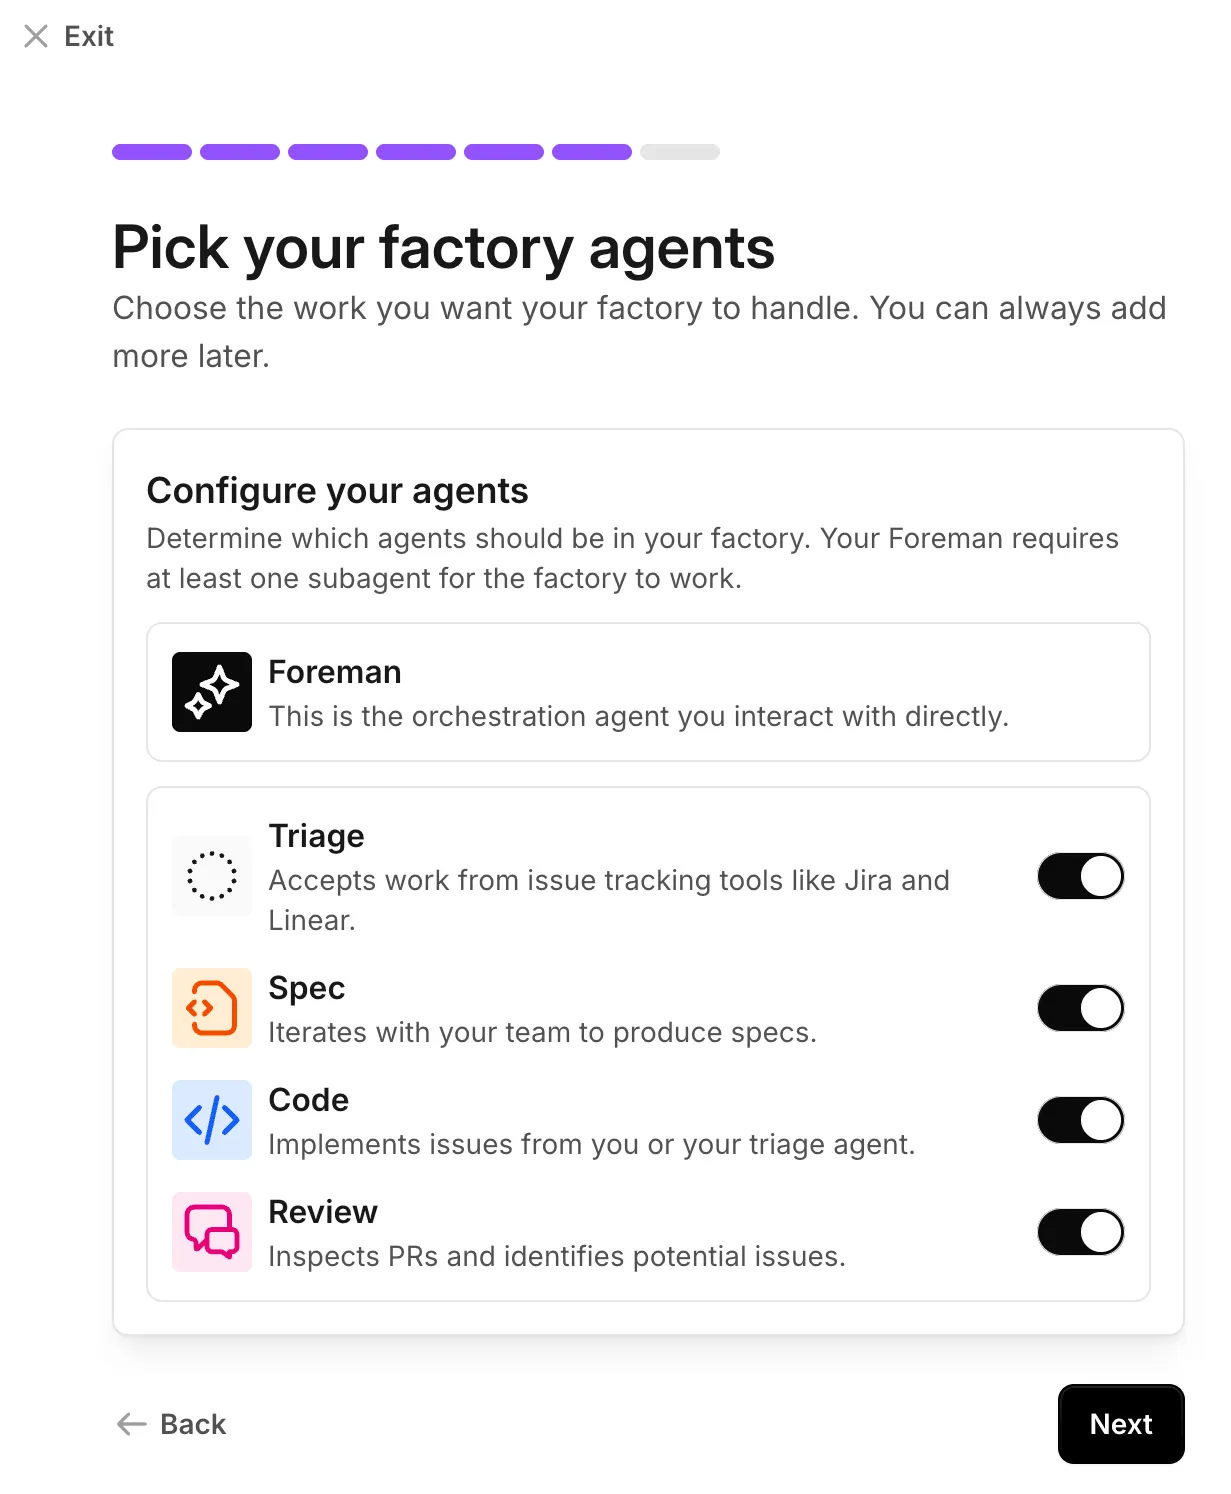
Default factory agents enabled during setup. -
Optionally, connect Slack and an issue tracker. You can add either later from connect your factory.
Warp creates the factory and opens its dashboard.
Send your first work item
Section titled “Send your first work item”About 5 minutes
Send work from Slack or an issue tracker. If you skipped integrations, start a run from the Runs page of the factory’s dashboard.
-
Describe one small, verifiable change and send it:
Example first request Add a "Local development" section to README.md that summarizes the setupsteps from CONTRIBUTING.md. Keep the change to that one file, run therepo's lint check, and open a pull request. -
The foreman dispatches the agents needed for the request and posts progress where it started. Follow the foreman and child runs on the factory’s Runs page. Requests for input also appear in your inbox.
If you connected Slack, you can follow along there instead:
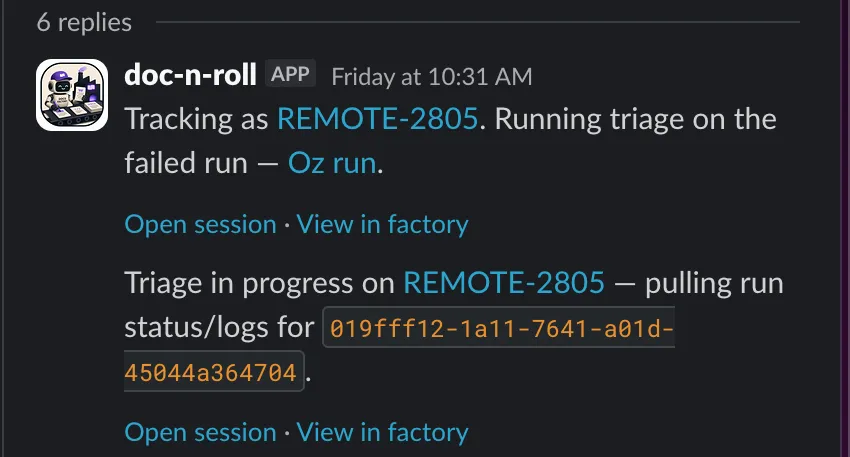
A factory Slack thread with live progress. -
When the Implement agent finishes, review and merge the linked pull request as you would any other.
Next steps
Section titled “Next steps”- Connect your factory - Configure intake sources.
- How Warp Factories work - Understand the work-item lifecycle.
- Troubleshooting Warp Factories - Fix common setup and run issues.